

You might have to do something yourself if you want it done a certain way. Although there are many excellent WordPress themes available, Some people may have trouble finding one that meets their unique needs. You might be tempted to build your own unique WordPress theme in order to address this.
Fortunately, Developing a unique theme for WordPress is a fairly simple procedure. Surprisingly, It doesn’t call for extensive technical expertise or prior web development experience. Additionally, Since you can design your website exactly how you want it to look, creating your own theme may be well worth the time and effort.
Table of Contents
An Introduction to WordPress Theme Development
You look through the WordPress Theme Directory because you want your website to look fantastic and have every feature you require:
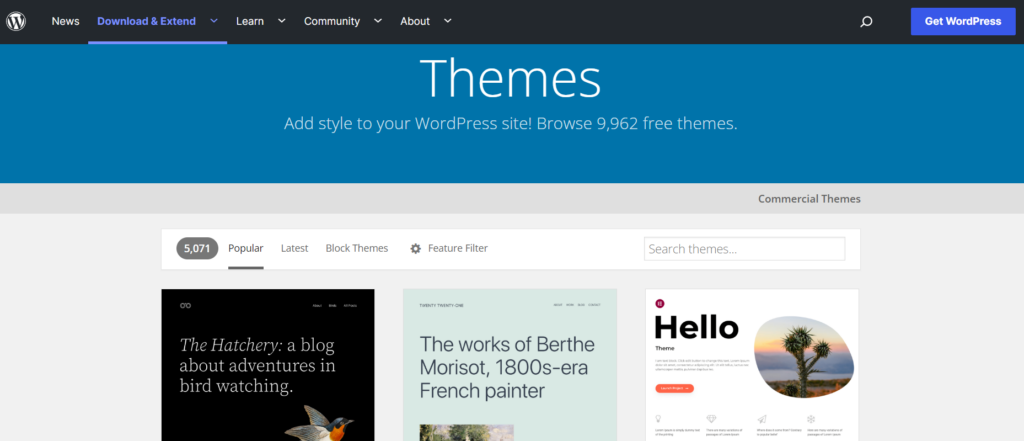
Unfortunately, Nothing you find meets your needs, and You don’t want to give up on your ideals. Perhaps you want something special to set your site apart, But you don’t want to shell out the cash for a premium theme.
You might think about coming up with your own theme at this point. Fortunately, It’s not as difficult as you might think to create a theme for WordPress. Almost anyone can create a custom theme thanks to the platform’s user-friendly interface and the many tools available.
We’ll walk you through the process of developing your initial theme. You’ll need the following two items to begin:
-
-
- Your own WordPress website
- A quality hosting plan
-
As you’ll be using one to create your theme, Having experience with local staging environments will also be helpful. Understanding CSS and PHP will also be beneficial, Though not strictly necessary.
A starter theme is a crucial tool you should have, As it will make the process much simpler.
What a Starter Theme Is (And Why You Should Use One)
You can build your own WordPress theme from scratch using a starter theme, Which is a basic theme. As a result, You can construct on a strong foundation without worrying about the challenges of creating a theme from scratch. By demonstrating the fundamental layout of a theme and how each component interacts with the others, It will also assist you in comprehending how WordPress functions
Underscores, UnderStrap, and Bones are just a few of the many fantastic starter themes available.
For our tutorial, Underscores will be used. Because it only includes the fundamentals, It’s a good option for beginners. Additionally, Since Automattic (the group responsible for WordPress.com) is the developer of this starter theme, It is more likely to be secure, compatible, And well-supported in the long run.
How to Develop Your First WordPress Theme (In 5 Steps)
You’re finally prepared to begin developing your first theme now that the preparation is complete. We’ll be using a starter theme for this walkthrough, As we already mentioned.
However, You should feel free to experiment with creating everything from scratch without using a template. Keep in mind that this method will demand much more coding expertise.
Step 1: Set Up a Local Environment
Setting up a local development environment will be your first task. In essence, You Install a server on your computer using this method, and You can use it to create and control local WordPress sites. A local site is a secure way to create a theme without having any negative effects on your live site.
You can Create a Local Environment in a variety of ways, But we’ll use Local. This method works on Mac and Windows and is quick and simple for installing a free local copy of WordPress:
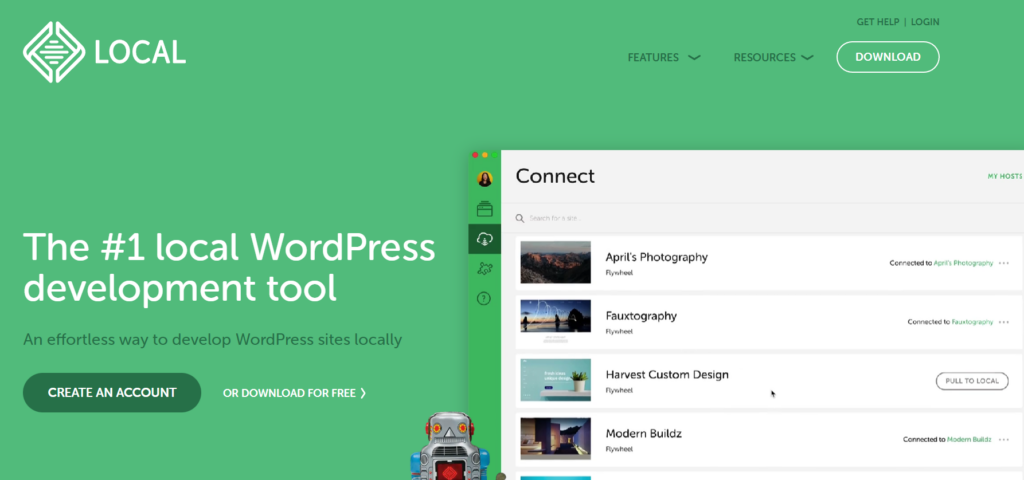
Choose the Local free version, your Platform, Enter your information, and Download the installer to get going. You can start using the program on your computer after the installation is complete.
You’ll be prompted to set up your new local environment here:
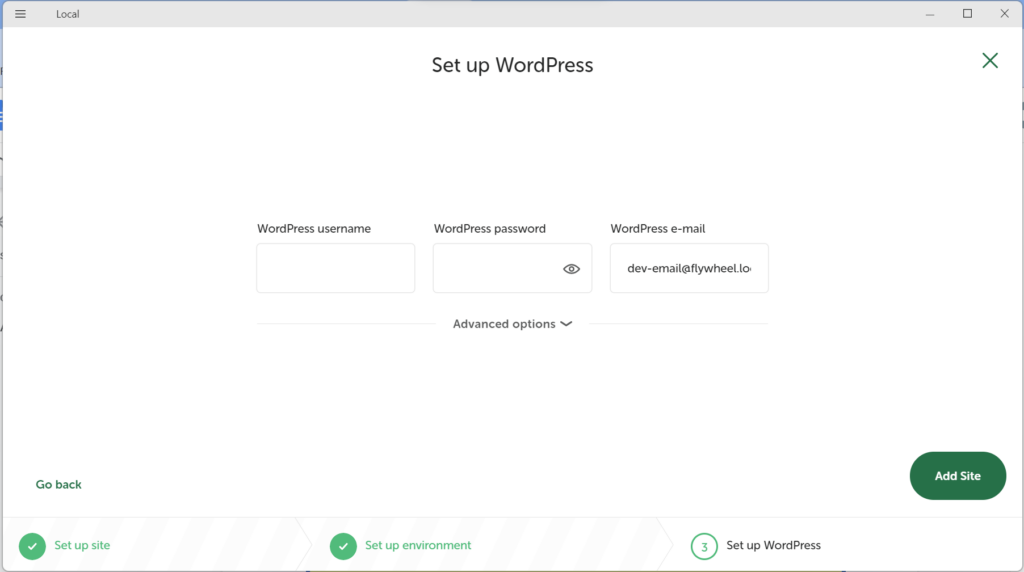
This is a straightforward process, and You’ll have your local WordPress site ready in a few minutes. Once set up, Your new site will look and work exactly like a live WordPress website.
Step 2: Download and Install Your Starter Theme
Underscores is incredibly simple to use, Just like the majority of starter themes. Actually, all You have to do is visit the website and choose a theme:

If you want, You can click on Advanced Options to customize the base theme further:

Here you can fill out more information, Such as the author’s name, and Give the theme a Description:
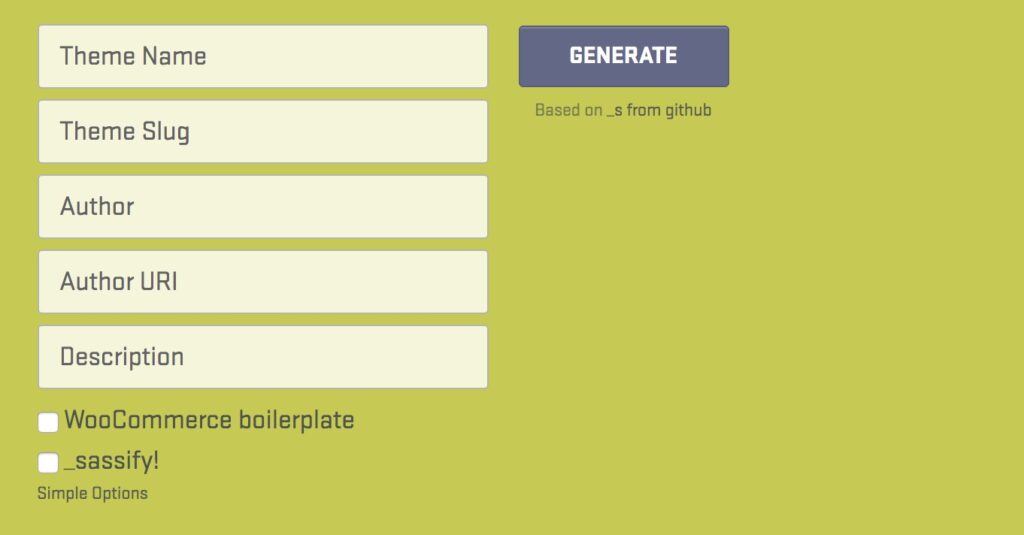
Additionally, You can add Syntactically Awesome StyleSheets (SASS) files to your theme by selecting the _sassify! option. Use variables, Nesting, math operators, and More with SASS, a preprocessing language for CSS.
After making your selections, Click Generate to download a.zip file containing your starter theme. You must Install this file on your local site because it serves as the foundation for the theme you create.
You can preview your site to see how it appears once your theme has been installed. Right now, It’s very basic, but That won’t last forever!
Step 3: Learn about the different components of a WordPress theme
You must comprehend the function of each element and how they work together before you can alter your theme.
Let’s start by talking about template files, Which serve as a WordPress theme’s fundamental building blocks. The design and organization of the content on your site are determined by these files.
For instance, You can create a header with header.php and display comments with comments.php.
WordPress navigates the template hierarchy to choose which template files to use on each page. Every time a page on your website loads, WordPress will check these files in this order for the appropriate template files.
For instance, WordPress will search for the following template files in the following order if you go to the URL http://example.com/post/this-post
- Files that match the slug, Such as this-post
- Files that match the post ID
- A generic single post file, Such as single.php
- An archive file, Such as archive.php
- The index.php file
Since the index.php file is a prerequisite for all themes, It will be used by default if no other file is available. The most popular template files are included in Underscores, and they function right out of the box. If you want to learn how they work together, You can experiment with editing them.
The Loop is yet another critical concept you must comprehend. It could be said that this code is the lifeblood of your website because WordPress uses it to display content. It can be found in any template file that shows post content, Like sidebar.php or index.php.
If you want to learn more about The Loop, a Complicated topic that affects how WordPress displays post content, We advise you to do so. Fortunately, Underscores will have already incorporated the Loop into your theme, So you don’t need to worry about it just yet.
Step 4: Configure Your Theme
Though it’s simple to assume that themes serve purely aesthetic functions, They actually have a significant impact on your site’s functionality. Let’s examine some straightforward customization options.
Add Functionality with ‘Hooks’
Hooks are small pieces of code that you insert into template files to run PHP actions on various parts of a website, Add Styling, and Display additional data. The majority of hooks are integrated right into the WordPress core, but Some are also helpful to theme developers.
Let’s take a look at some of the most common hooks and what they can be used for:
- wp_head() — Added to the <head> element in header.php. It enables Styles, Scripts, and Other information that runs as soon as the site loads.
- wp_footer() — Added to footer.php right before the </body> tag. This is often used to insert Google Analytics code.
- wp_meta() — This usually appears in sidebar.php to include additional scripts (such as a tag cloud).
- comment_form() — Added to comments.php directly before the file’s closing </div> tag to display comment data.
Your Underscores theme already comes with these hooks. To view all available hooks and learn more about them, we still advise visiting the Hooks Database.
Add Styles with CSS
All content on your site has an appearance that is determined by CSS, or Cascading style sheets. The style.css file in WordPress is used to achieve this. This file is already a part of your theme, But it only has the basic, Default styling at the moment:
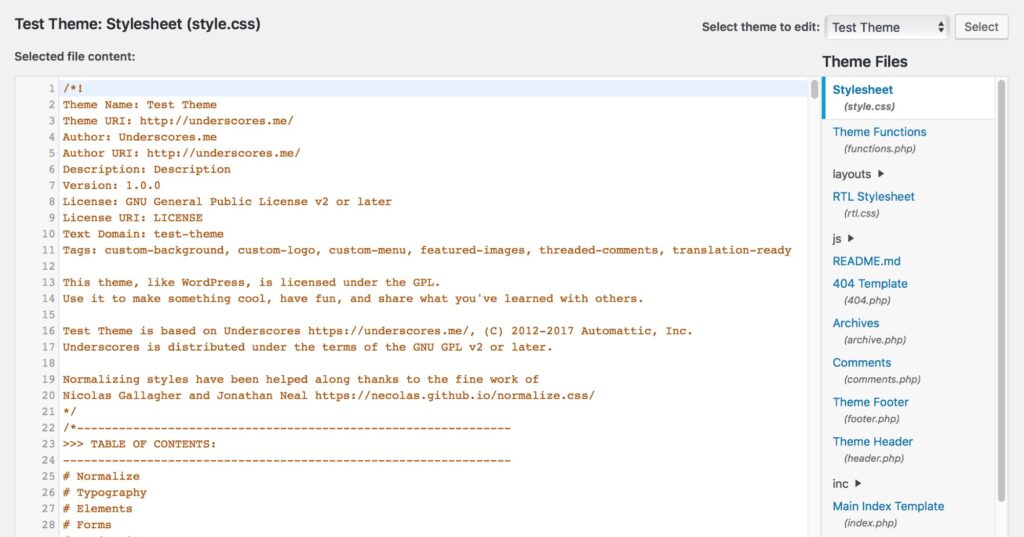
If you want a quick example of how CSS works, You can edit any of the styles here and save the file to see the effects. For example, You can find the following code (Usually on line 485):
This code controls the color of unvisited hyperlinks, Which appear royal blue by default:

Let’s see what happens if we try to change that by replacing it with the following code:
Save the file and check out your local site. As you might expect, All unvisited links will now appear bright red:

You may have noticed that the color of the visited link at the top has remained the same. This is due to the fact that the following section of the stylesheet controls it:
This is a very simple illustration of editing style.CSS will impact how your site looks. If you want to learn more about making web designs, We strongly advise that you look into the vast subject of CSS. For beginners, There are many resources available on the subject.
Step 5: Export the Theme and Upload It to Your Site
Once you’ve finished fiddling with your theme, Test it to make sure everything is functioning as it should. You can use the Theme Unit Test Data to accomplish this.
You can upload this collection of fake data to your website. It allows you to see how your theme responds to erratic data and contains numerous variations in both style and content.
The only thing left to do is export your theme once you’ve thoroughly tested it and are certain that it adheres to the standards.
You must first locate your website’s location on your local computer. It’s most likely located in your default Documents directory in a folder called Websites.
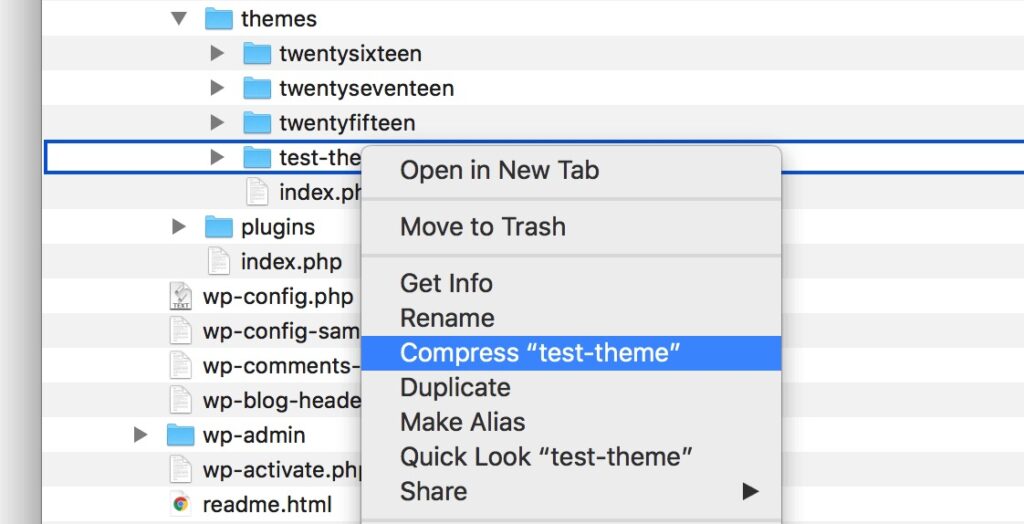
Open the website’s folder and access /wp-content/themes/, Where you’ll find your theme:

Now that the folder has been compressed, You can make a.zip file from it using a program like WinRAR. Simply perform a right-click on the folder and choose the zip option, Such as Compress “Folder”:
custom WordPress theme’s compression before upload
The folder can now be uploaded and installed on any WordPress site, Just like you did when you first started using the Underscores theme. You could even submit your theme to the WordPress Theme Directory if you’re particularly pleased with the outcome!
Create a Custom WordPress Theme
It takes a lot of work to build a unique WordPress theme from scratch. The procedure, Though, Might not be as challenging as you might imagine.
To recap, Here’s how to develop a WordPress theme in five simple steps:
- Set up a local environment, Using
- Download and install a starter theme, Like
- Learn about the different components of a WordPress theme.
- Configure your theme.
- Export the theme and upload it to your site.
You can create a theme that satisfies quality requirements by adhering to the instructions on the Codex documentation site. Even think about adding it to the WordPress Theme Directory!
2 Responses
Heya! I just wanted to ask if you ever have any trouble with hackers?
My last blog (wordpress) was hacked and I ended up losing months of hard work due to no backup.
Do you have any methods to stop hackers?
Yes many methods to stop hackers.